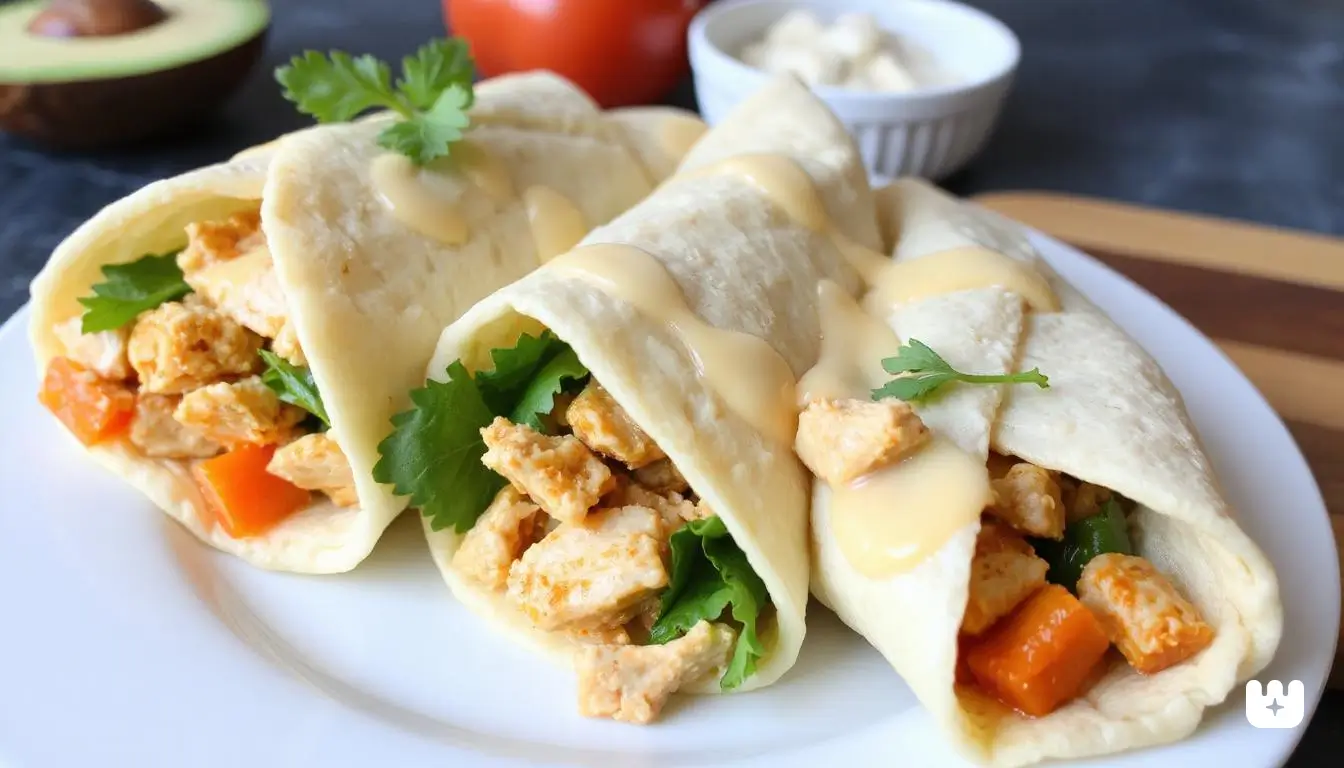
Cheesy Garlic Chicken Wraps That’ll Make You Drool!
Looking for a meal that combines convenience with mouthwatering flavor? These Cheesy Garlic Chicken Wraps have become my go-to solution for busy weeknights and impressive quick lunches alike. I’ve perfected this protein-rich comfort food over countless family dinners, and the combination of gooey melted cheese, savory garlic-infused chicken, and crispy tortilla exterior creates an irresistible texture contrast that truly lives up to its name.
What makes these wraps special is their incredible versatility. Have leftover chicken? These wraps transform it into something extraordinary. Need a portable lunch option? Wrap them in foil and enjoy them warm or at room temperature. The best part? You can customize these wraps countless ways while keeping that magical combination of chicken, cheese, and garlic that makes everyone come back for seconds.
Ready to discover your new favorite meal that’s as perfect for meal prep as it is for impromptu gatherings? Let’s dive into these Cheesy Garlic Chicken Wraps that I promise will make you drool with anticipation from the very first bite
Table of Contents
Key Benefits
Key Benefits of This Cheesy Garlic Chicken Wraps
These Cheesy Garlic Chicken Wraps aren’t just delicious—they’re practical kitchen heroes for so many reasons! Let me share why these wraps deserve a regular spot in your meal rotation:
• Perfect for busy weeknights when you need dinner on the table in under 30 minutes. The quick preparation makes these wraps a lifesaver when time is tight.
• Excellent meal prep option that maintains quality when made ahead. I often prepare extra filling on Sundays for easy assembly throughout the week.
• Protein-packed satisfaction keeps hunger at bay for hours, making these wraps ideal for active days or growing appetites.
• Kid-approved flavor profile with the universally loved combination of chicken and cheese. Even picky eaters tend to embrace these wraps!
• Portable lunch solution that travels well to work, school, or picnics. Simply wrap in foil to keep warm, or enjoy at room temperature.
• Budget-friendly meal that stretches premium ingredients like chicken across multiple servings, keeping your grocery bill in check.
• Versatile base recipe that welcomes customization based on dietary needs or what’s in your refrigerator. The basic formula works with countless variations.
• Balanced nutrition in a handheld package, delivering protein, carbs, and vegetables in satisfying proportions.
When I first started making these wraps, I was just looking for a quick dinner solution. Now they’ve become a requested favorite that satisfies everyone at my table while making my life easier—the ultimate culinary win-win!
Ingredients
Ingredients for Best the Cheesy Garlic Chicken Wraps
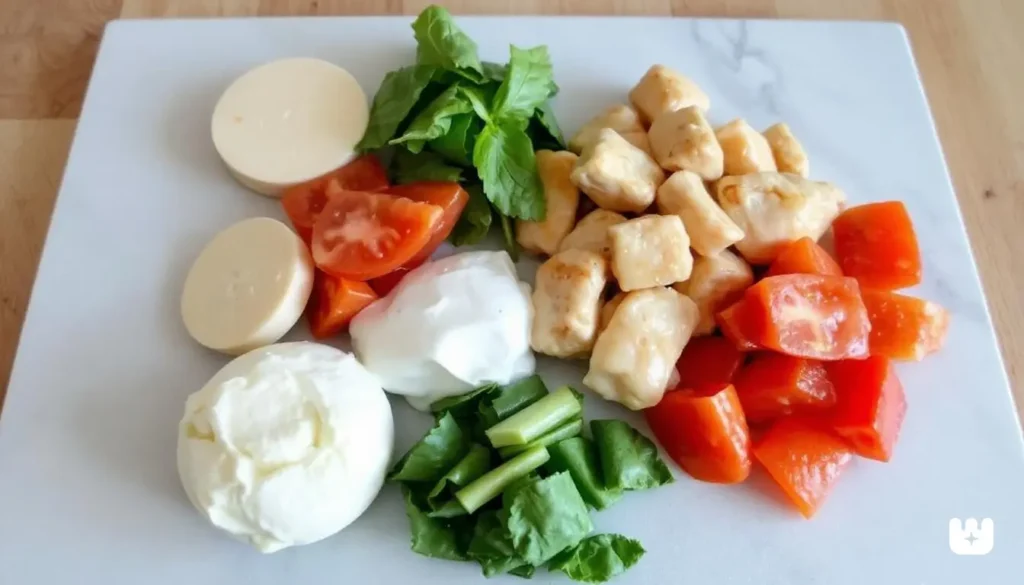
Let me walk you through everything you’ll need to whip up these mouthwatering Cheesy Garlic Chicken Wraps – just a handful of everyday ingredients that create something truly special!
For the Savory Chicken Base:
- 1½ tablespoons extra virgin olive oil
- 1¼ pounds chicken tenders, sliced into strips
- 4-5 garlic cloves, finely minced
- ¾ teaspoon dried oregano
- ½ teaspoon ground cumin
- ¼ teaspoon cayenne pepper (optional)
- Salt and freshly cracked black pepper
- 2 tablespoons fresh lemon juice
For the Signature Cheese Blend:
- ¾ cup white cheddar cheese, freshly grated
- ¾ cup Monterey Jack cheese, freshly grated
- 3 tablespoons mascarpone cheese (or softened cream cheese)
- 1 tablespoon fresh chives, finely chopped
- ¼ teaspoon garlic salt
For Assembly:
- 4 large spinach or herb tortillas (10-12 inch diameter)
- 1½ tablespoons of unsalted butter, softened to room temperature.
- ½ teaspoon garlic powder for dusting
- 1 tablespoon olive oil for pan-frying
I’ve found that hand-grating cheese directly from the block makes all the difference in how these wraps turn out—store-bought pre-shredded cheese contains anti-caking agents that affect meltability. The mascarpone adds a silky richness that transforms this from good to unforgettable, but regular cream cheese works beautifully too if that’s what you have on hand!

How to Make: Cheesy Garlic Chicken Wraps
Let’s break down the process into simple steps that will have these mouthwatering wraps on your table in no time!
Step 1: Prepare the Chicken
- Warm olive oil in a large skillet over medium-high heat until it starts to shimmer.
- Add chicken strips and cook for 2-3 minutes without stirring to develop a nice golden sear.
- Toss in the minced garlic (if using fresh) and stir to combine.
- Sprinkle with Italian seasoning, smoked paprika, salt, and pepper.
- Continue cooking for another 3-4 minutes until chicken is cooked through but still juicy.
- If the mixture seems dry, add the optional chicken broth and simmer for 1 minute until slightly reduced.
- Remove from heat and set aside.
Step 2: Create the Cheese Mixture
- In a medium bowl, combine both shredded cheeses, softened cream cheese, parsley, and garlic powder.
- Mix thoroughly until well combined – the cream cheese helps bind everything together for that perfect gooey texture.
Step 3: Assemble the Wraps
- Lay out your tortillas on a clean work surface.
- Spread a thin layer of softened butter on one side of each tortilla (this will be the exterior).
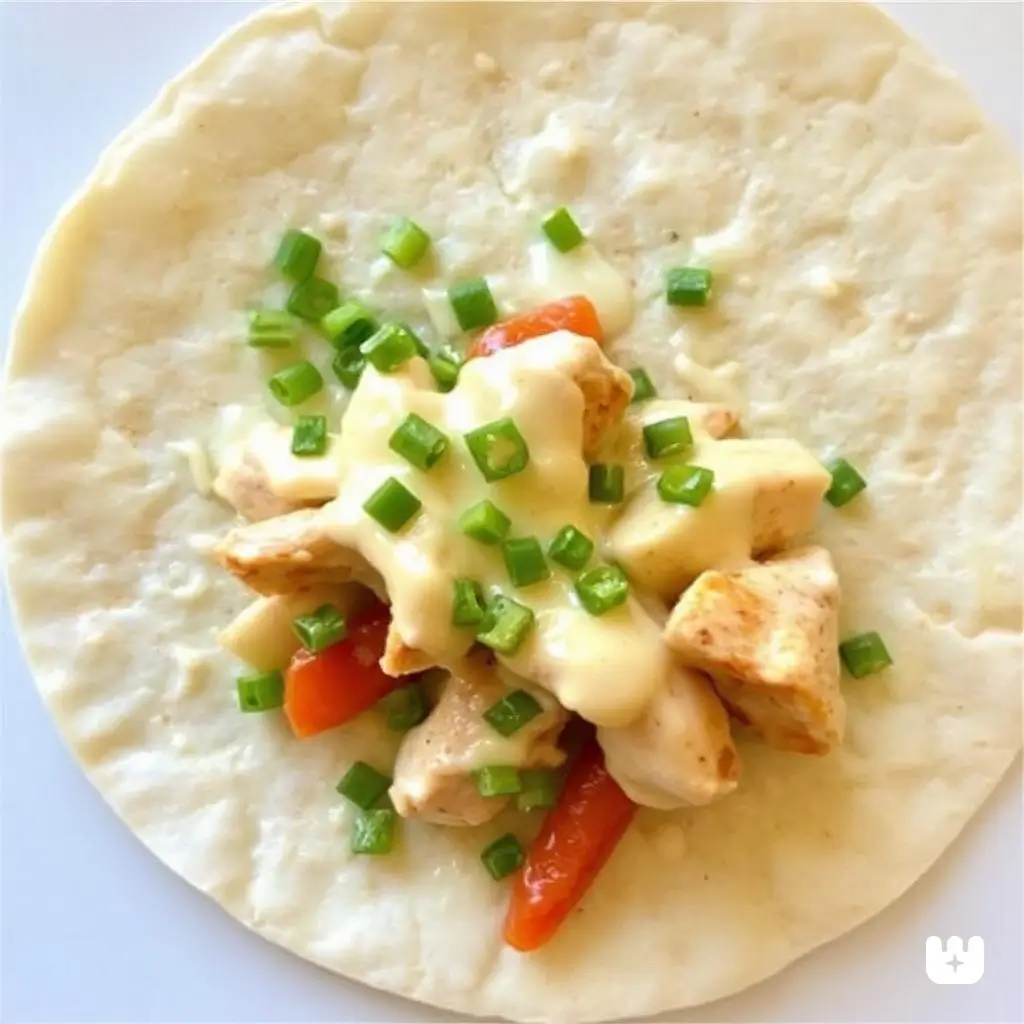
- Flip the tortillas over (butter-side down) and evenly distribute the chicken mixture on half of each tortilla.
- Top the chicken with generous portions of the cheese mixture.
- Fold the empty half of each tortilla over the filling, creating a half-moon shape.
Step 4: Cook to Crispy Perfection
- Heat a clean skillet over medium heat and lightly coat with cooking spray or a bit of oil.
- Place 1-2 assembled wraps in the skillet, butter-side down.
- Cook for 2-3 minutes until golden brown and crispy.
- Carefully flip and cook for another 2 minutes until the cheese has melted and the other side is crispy.
- For extra garlic flavor, sprinkle a touch of garlic powder on the exterior while hot.
The key to perfect wraps is getting that ideal balance between crispy exterior and melty interior. Don’t rush the cooking process—those few minutes of patience will reward you with the perfect texture contrast that makes these wraps so addictive!
Pro Tips and Variations
After making these wraps countless times, I’ve discovered some game-changing tricks and delicious variations that take them from great to extraordinary!

Chef’s Pro Tips:
• Prep ahead strategy: Cook the chicken mixture up to 3 days in advance and store it in the refrigerator. When ready to eat, simply warm it slightly before assembling your wraps for a lightning-fast meal.
• Perfect cheese melt: Allow shredded cheese to come to room temperature before adding to wraps. Cold cheese takes longer to melt and might result in overcooked tortillas.
• Tortilla trick: Warming tortillas for 10-15 seconds in the microwave makes them more pliable and less likely to crack when folding.
• Golden-brown guarantee: Apply gentle pressure with a spatula while cooking to ensure maximum contact with the pan for that coveted crispy exterior.
• Flavor boost: Marinate your chicken strips in a tablespoon of garlic-infused olive oil for 20 minutes before cooking for enhanced flavor penetration.
Must-Try Variations:
Spicy Southwest: Add ½ diced jalapeño, 1 teaspoon cumin, and substitute pepper jack for cheddar. Serve alongside lime wedges and avocado slices.
Mediterranean Spin: Mix in chopped sun-dried tomatoes, olives, and feta cheese with the mozzarella. Add a sprinkle of oregano to the chicken seasoning.
Low-Carb Option: Replace tortillas with large lettuce leaves or try low-carb wraps. Adjust cooking time as these alternatives crisp faster than traditional tortillas.
Vegetarian Version: Substitute the chicken with sautéed portobello mushrooms and zucchini slices, maintaining all the garlicky goodness and cheese components.Breakfast Twist: Add scrambled eggs to the filling and include some chopped spinach for a morning-friendly variation that starts your day with protein-packed satisfaction.
Don’t be afraid to experiment with these wraps! The basic technique remains the same, but changing up the fillings keeps this recipe fresh and exciting week after week. My family now requests “wrap night” specifically to see what new variation might appear on the table!
Serving Suggestions
Serving Suggestions for Cheesy Garlic Chicken Wraps
Turn these Cheesy Garlic Chicken Wraps into a complete meal with these perfect pairings and presentation ideas that elevate the entire dining experience!
Complementary Side Dishes:
• Fresh green salad with a light vinaigrette balances the richness of the wraps beautifully. I love arugula with lemon dressing for a peppery contrast.
• Roasted vegetable medley – colorful bell peppers, zucchini, and cherry tomatoes roasted with olive oil and herbs make for a nutritious accompaniment.
• Crispy sweet potato fries deliver a texture contrast that complements the wraps perfectly. The slight sweetness pairs wonderfully with the savory garlic notes.
• Light cucumber and tomato salad with a touch of red onion and Greek yogurt dressing adds freshness to each bite.
Dipping Sauces That Shine:
I always serve these wraps with at least one dipping option to take them to the next level:
• Zesty cilantro-lime sauce – blend Greek yogurt, fresh cilantro, lime juice, and a touch of honey for a bright, tangy dip.
• Smoky chipotle mayo adds a hint of heat that enhances the garlic and cheese flavors.
• Simple marinara for a pizza-inspired experience that kids especially love.
• Creamy avocado sauce – mashed avocado with a splash of lime juice and salt is deliciously simple.
Presentation Magic:
• Slice wraps diagonally and arrange standing up in a shallow bowl for an impressive display.
• Serve on a wooden board with small ramekins of different dipping sauces for a casual, shareable presentation.
• Wrap individual portions in parchment paper tied with twine for picnics or packed lunches – both functional and adorable!
Beverage Pairings:
Complete your meal with beverages that complement these flavor-packed wraps:
• A crisp lager or wheat beer brings out the savory notes • Light-bodied Pinot Grigio or Sauvignon Blanc for wine lovers • Sparkling lemonade offers a refreshing contrast for family meals
Remember, these wraps are substantial enough to be the star of the meal, so simple sides often work best. I’ve found that balancing the richness of the wraps with something fresh and crisp creates the most satisfying dining experience!
Conclusion
These Cheesy Garlic Chicken Wraps have become a true staple in my kitchen, and I’m confident they’ll earn the same status in yours. What makes this recipe truly special is the perfect balance between everyday convenience and extraordinary flavor—proving that delicious, satisfying meals don’t require complicated techniques or exotic ingredients.
I love how versatile these wraps are, adapting to whatever life throws my way. They’re equally at home as a quick weeknight dinner solution, a crowd-pleasing party appetizer when sliced into pinwheels, or a make-ahead lunch that brightens up the workday. The combination of crispy exterior, garlicky chicken, and that irresistible cheese pull creates a comfort food experience that simply never disappoints.
I’d love to hear how these wraps work in your kitchen—whether they become your meal prep hero, family dinner savior, or potluck superstar. The joy of sharing good food is what cooking is all about, and these Cheesy Garlic Chicken Wraps are my way of passing along a little culinary happiness from my table to yours!
FAQs
Frequently Asked Questions About Cheesy Garlic Chicken Wraps
How far in advance can I prepare these wraps?
These wraps are perfect for planning ahead! You have two excellent options: either prepare just the chicken mixture up to 72 hours in advance and refrigerate in a sealed container, or completely assemble the uncooked wraps and keep them in the refrigerator (individually wrapped in parchment paper or plastic) for up to 24 hours. When you’re ready to enjoy them, simply follow the cooking instructions, adding about 60-90 seconds of cooking time per side if starting with cold wraps.
What’s the best way to preserve leftover cooked wraps?
For maximum quality, store cooked wraps in the refrigerator for up to 3 days. To maintain their delightful crispy texture, avoid microwave reheating. Instead, place them in a non-stick skillet over medium-low heat for about 3 minutes per side until crispy and heated throughout. An air fryer set to 325°F for 4-5 minutes also yields excellent results with a perfectly restored crunch.
Can these wraps be frozen successfully?
Absolutely! These wraps are freezer-friendly champions. After cooking, allow them to cool completely, then wrap each one individually in parchment paper followed by aluminum foil or place in freezer-safe containers. They’ll maintain quality for up to 8 weeks. To reheat, unwrap and place directly in a 375°F oven for 18-22 minutes or until thoroughly heated and crispy again.
Is there a dairy-free alternative that still delivers great flavor?
For those avoiding dairy, several excellent alternatives exist. Look for plant-based cheese products specifically formulated for melting—brands offering almond or cashew-based options typically perform best. Replace the cream cheese component with dairy-free cream cheese alternative and use olive oil or plant-based butter for the exterior. While the flavor profile will differ slightly, you’ll still enjoy a deliciously satisfying wrap.
How can I adapt these wraps for gluten sensitivity?
Creating gluten-free versions is straightforward! Simply substitute your favorite certified gluten-free tortillas in place of standard flour ones. Many excellent corn-rice blend tortillas are available that hold up well to folding and crisping Make sure to heat them up a little before assembling to avoid cracking. Double-check that all your seasonings and other ingredients are certified gluten-free, as cross-contamination can sometimes occur during manufacturing.
Can I use pre-cooked chicken to speed up preparation?
Using pre-cooked chicken is a brilliant shortcut! Approximately 2½ cups of shredded rotisserie chicken works perfectly. Simply warm it in a skillet with a tablespoon of olive oil, add all the seasonings and fresh garlic, and heat through for about 3-4 minutes before proceeding with the recipe. This clever adaptation reduces total preparation time to under 20 minutes from start to finish!
My wraps tend to unfold during cooking—any solutions?
If your wraps are opening during the cooking process, try these professional techniques: first, place them seam-side down initially when cooking, as the heat helps seal the edge as the cheese begins to melt. For a foolproof method, secure each wrap with a wooden toothpick before cooking (just remember to remove before serving!). Finally, don’t overfill your wraps—about ⅔ cup of filling per 10-inch tortilla provides the perfect balance for secure folding.

